Process: Kitsune
In this post I am going to share the process of my 3D outcome. Due to the big amount of clay that I needed, I asked my high school for material. They allowed me to use all the material I needed and even allowed to work on their atellier. This way I was able to make a figure with 60 centimeters plus the tails.
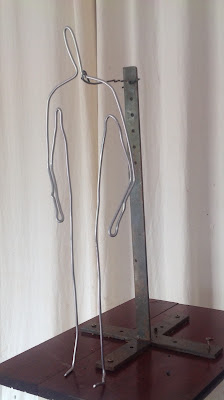
First I modeled the aluminum wire and put it in the support that is normally used for this type of sculpture.
Once again I my hands all dirty with clay so the only photo I was able to take of the first part of the process was the following one. In here I was already making as if a sketch f the figure:
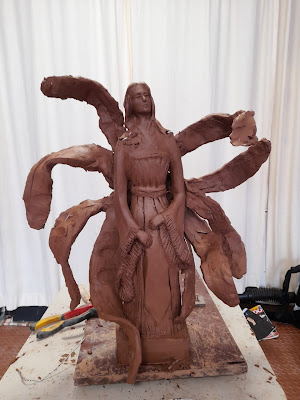
Afterwards, I asked my high school teachers for a second opinion, and they said that I should add a base. So I put a block of clay unders the figure and added some details to her clothes:
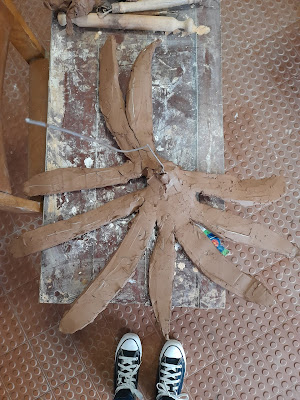
With the human figure concluded it was time to start the tails. So I began to model the aluminum wire again but this time with the shape of the nine tails:
In order to do this more easily I used a rolling pin:
After covering it with clay I started to try to connect it with the rest of the figure, which was something really difficult because it was always falling out. For this reason I had to had more wire which would pass through the human figure and the tails:
Once I that the tails had a good support, I started modelling it the way I wanted:
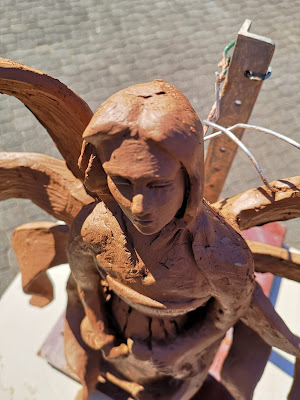
Then, I started to give it shape with some clay tools and cleaning the extras with a sponge. Unfortunately, I forgot to take a photo of this part of the process and the only photo I have is me cleaning it:
These were the tools I used throughout the process:
 |
| Scraper |
 |
| Aluminum wire |
 |
| Plier |
 |
1. Wire tool 2. Ribbon tool 3. Ribbon tool 4. Wood modeling tool 5. Wood modeling tool with texture 6. Needle tool 7. Serrated knife 8. Sponge 9. Rolling pin 10. Mallet |
Reflection about the process and outcome
There are still some things that I would differently such as the structure of her body - I believe it could be more feminine - or even the tails which don't have much volume. Unfortunately, the wire I had couldn't support all the clay I wanted for the tails, so I had to simplify it. I don't think it is bad at all, but I would be happier if it looked more like tails.
Although all the stress and pression this outcome put me through, in the end I feel like it was worth it. During the process I found enumerous problems which I stuggled a lot to solve, but as a teacher once said to me "In sculpture there aren't problems, only solutions". Thanks to the previous experiences I had with clay and thanks to the support my high school teachers gave me, I was able to encounter these solutions and finalise the work on time, which was something I was really worried about.
I felt like I needed to share this photo here because I think it really shows how prideful I am of this piece. Normally I don't like to take pictures with my artworks, but I believe that I have grown a lot as an artist thanks to this piece. It was a real challenge and I overcome each obstacle that appeared in my way. I always thought that I would follow painting once I get to university, but now I am having some doubts. I really enjoyed the process and the feeling of giving life to a project.








Comments
Post a Comment